-
E-mail
zy244295446@qq.com
-
Phone
18205507022
-
Address
No.1 Jing'er Road, Xicheng District, Tianchang City, Anhui Province
Product Categories
Anhui Chunhui Instrument Cable Group Co., Ltd


Steel thermometer
NegotiableUpdate on 11/20
- Model
- Nature of the Manufacturer
- Producers
- Product Category
- Place of Origin
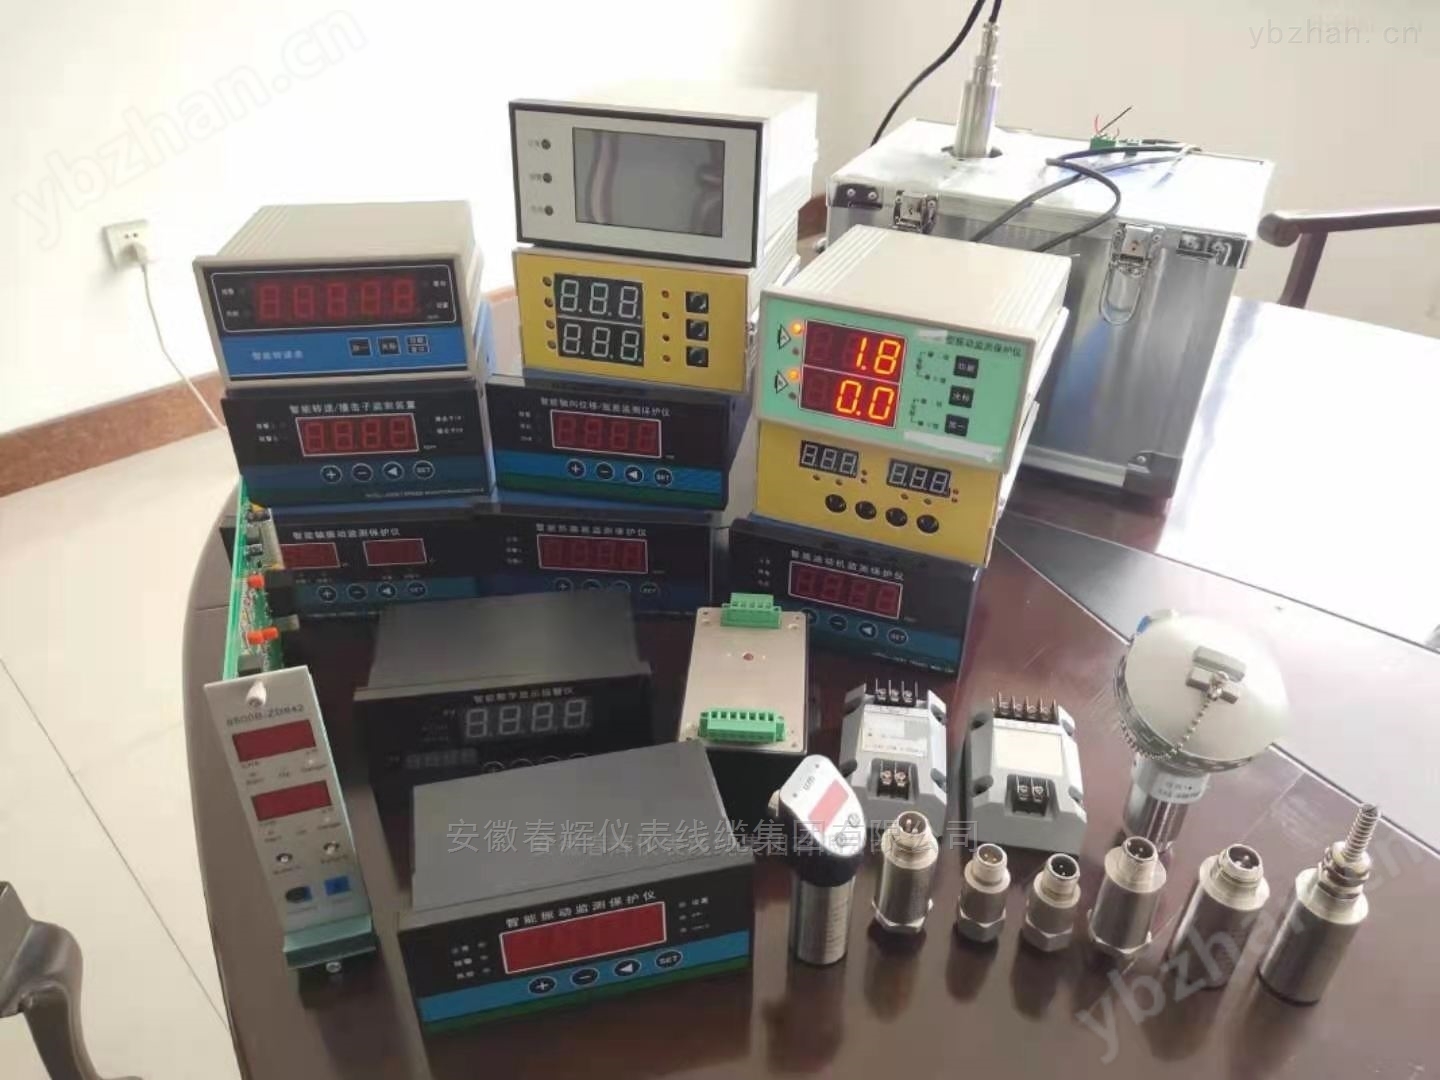
Overview
This thermometer is based on a high-speed 16 bit embedded microprocessor. Automatic calibration circuit is adopted, and precise temperature sensors are used to measure the cold end temperature, which can be calibrated by software. We use high-precision AD conversion chips for data acquisition with a sampling period of 20ms, which have strong anti-interference ability against spatial power frequency. This thermometer is suitable for measuring the temperature of solutions in industries such as steelmaking, aluminum smelting, and cast iron, as well as measuring the temperature of slag.
Product Details
2 Functional Description
At the bottomDC12VActive speaker output interface √
At the bottomRS485Serial communication interface (special instructions for ordering)
At the bottomMicro printer interface (special instructions for ordering)
At the bottomRS232Asynchronous serial communication interface (special instructions for ordering)
At the bottomWith isolationBCDCode output interface (special instructions for ordering)
At the bottomanalog quantity4~20mAOutput interface (special instructions for ordering) √
At the bottom100Storage of historical test data (if more historical test data needs to be stored, please specify when ordering) √
At the bottomVoice reporting (special instructions for ordering)
3 Technical Specifications
Thermocouple model |
S |
B |
R |
WRe3/25 |
Rapid temperature measurement range |
1000~1769℃ |
1000~1820℃ |
1000~1769℃ |
1000~1999℃ |
Continuous temperature measurement range |
100~1769℃ |
500~1820℃ |
100~1769℃ |
100~1999℃ |
display mode |
3位半5Inch high brightness redLEDThe character height127mm |
|||
working environment |
temperature0~55℃; relative humidity<85% |
|||
storage environment |
temperature-40~85℃; relative humidity<95% |
|||
power supply |
AC220V/50Hz, power consumption20W |
|||
size |
400mm×300mm×110mm |
|||
4 panel
There are three measurement indicator lights on the panel: Ready, Measure, End, and three setting keys:K1TheK2andK3.
5 Indicator lights and alarm horn control output instructions
When there is no measurement or the thermocouple has not been inserted, the thermometer displays the current time, and all three indicator lights are not on. After inserting the thermocouple, the green light is on. After inserting the thermocouple into the molten steel, the yellow light is on. When the measurement is successful, the red light is on, and an alarm control output is triggered; If the measurement fails, all three lights will be on.
After the test is completed, the test results show180Minutes, the horn rings5secondThe horn is activeDC12VOutput. The principle wiring is as follows:(With voice reporting, this function is not available
![]()
6 Specific operation instructions for setting keys and dials
There are three keys on the front panel of the thermometerK1TheK2andK3Used to set the date, time, and operating parameters.K1The key is used to select the parameter item to be set (specific item numbers are shown in the table below),K2Used to select the bit to be set,K3Used to input specific parameter values.
Set Number |
Specific functions |
Remarks |
1 |
Cold end temperature correction value |
with50As a benchmark, greater than50To add, less than50to reduce |
2 |
SType thermocouple measurement correction value |
with50As a benchmark, greater than50To add, less than50to reduce |
3 |
BType thermocouple measurement correction value |
with50As a benchmark, greater than50To add, less than50to reduce |
4 |
RType thermocouple measurement correction value |
with50As a benchmark, greater than50To add, less than50to reduce |
5 |
WRe3/25Type thermocouple measurement correction value |
with50As a benchmark, greater than50To add, less than50to reduce |
6 |
Set year |
This modification will not be saved15Limitations of the item |
7 |
Set month |
This modification will not be saved15Limitations of the item |
8 |
Set day |
This modification will not be saved15Limitations of the item |
9 |
Set time |
This modification will not be saved15Limitations of the item |
10 |
Set score |
This modification will not be saved15Limitations of the item |
11 |
Set seconds |
This modification will not be saved15Limitations of the item |
12 |
Communication address of this thermometer |
Configurable1~99 |
13 |
communication baud rate |
1express1200 2express2400 3express4800 4express9600 |
14 |
Manufacturer testing |
Tested by the manufacturer before leaving the factory During normal measurement, it must be set to0 |
15 |
Button modification and save enable
|
for0At this time, the button modification operation cannot be saved. When turned on, this option is0, set as1Later, if2No button operation within minutes, automatically reply as0The modification and saving of date and time items are not subject to this restriction. |
If the thermocouple has already been inserted and is in the preparation or measurement state, the button will not work. Only when the thermocouple is not inserted can the button be used for setting operations. First pressK1Press the key to enter the setting state. In the setting state, the leftmost digital tube displays the setting number, and the two digital tubes on the right display the setting value. In the setting value, the current editing position is flashing. PressK3Enter the size of the value to be set, pressK2The key can change the editing position. After setting a setting item, pressK1Enter the next set number.
The four characters displayed on the panel, with the leftmost two characters being the setting item number. The second character on the left is not displayed, and the third and fourth characters on the left are set values.
Setting items11To set the communication address, it can be configured as1~99.
Setting items12To set the communication baud rate, it can only be set to1~4,1Indicate baud rate bit1200,2Indicate baud rate bit2400,3Indicate baud rate bit4800,4Indicate baud rate bit9600.
In the set state, ifIf there is no button operation for 10 seconds, the system will automatically return to normal operation.
Internal dial setting instructions:
There are circuit boards inside the chassisThe four dials SET1, SET2, SET3, and SET4 are described as follows:
(NonWhen ON, it is OFF
SET1: The first and second bits are used to set the division marks
![]()
![]()
![]()
![]() 1
1
![]()
![]()
![]()
![]()
The third digit of SET1 is the voice signal switch, which is activated when turned on
The fourth bit of SET1 is the fast/continuous measurement setting, and when 4=ON, it is in the fast temperature measurement state
SET2: Temperature fluctuation value △ T setting
第The first digit represents 1, the second digit represents 2, the third digit represents 4, and the fourth digit represents 8
For example, set the fluctuation value to12 ℃, as follows: 1=OFF 2=OFF 3=ON 4=ON
Set the fluctuation value to8 ℃, as follows: 1=OFF 2=OFF 3=OFF 4=ON
SET3: Platform fluctuation effective time setting, unit is 1/6 second
第The first digit represents 1, the second digit represents 2, the third digit represents 4, and the fourth digit represents 8
For example, set the fluctuation value to3/6 seconds, as follows: 1=ON 2=ON 3=OFF 4=OFF
Set the fluctuation value to4/6 seconds, as follows: 1=OFF 2=OFF 3=ON 4=OFF
SET4 is reserved.
7 How to use buttons to query historical temperature data
In the non set state, pressK2Press the key to enter the historical temperature data query state. If there is currently no historical measurement data, the screen will display "--"; Otherwise, the historical temperature data will start to be displayed, with the latest measurement data displayed first, every time you press itK2Press the key to refresh and display the next screen of data. When the oldest historical temperature is displayed, press it againK2Press the key and start displaying the latest history again, that is, loop display.
pressK3Key to exit the historical temperature data query state and return to normal operation state
InstructionsEach measurement record needs to be displayed on three screens. The first screen displays the month and day, the second screen displays the hour and minute, and the third screen displays the temperature value. When the first screen is displayed, the green light is on; When the second screen is displayed, the yellow light is on; When the third screen is displayed, the red light is on. After each screen displays for about two seconds, it automatically switches to the next screen.
In the query state, ifIf there is no button operation for 10 minutes, the system will automatically return to normal operation.
![]()