-
E-mail
2444789544@qq.com
-
Phone
18971683772
-
Address
Jinghe Road and Hechang Industrial Park, Dongxihu District, Wuhan City
Hubei Gaotian Experimental Equipment Co., Ltd
Do you know how to install and debug the vibration test bench?
Date: 2025-11-14Read: 81
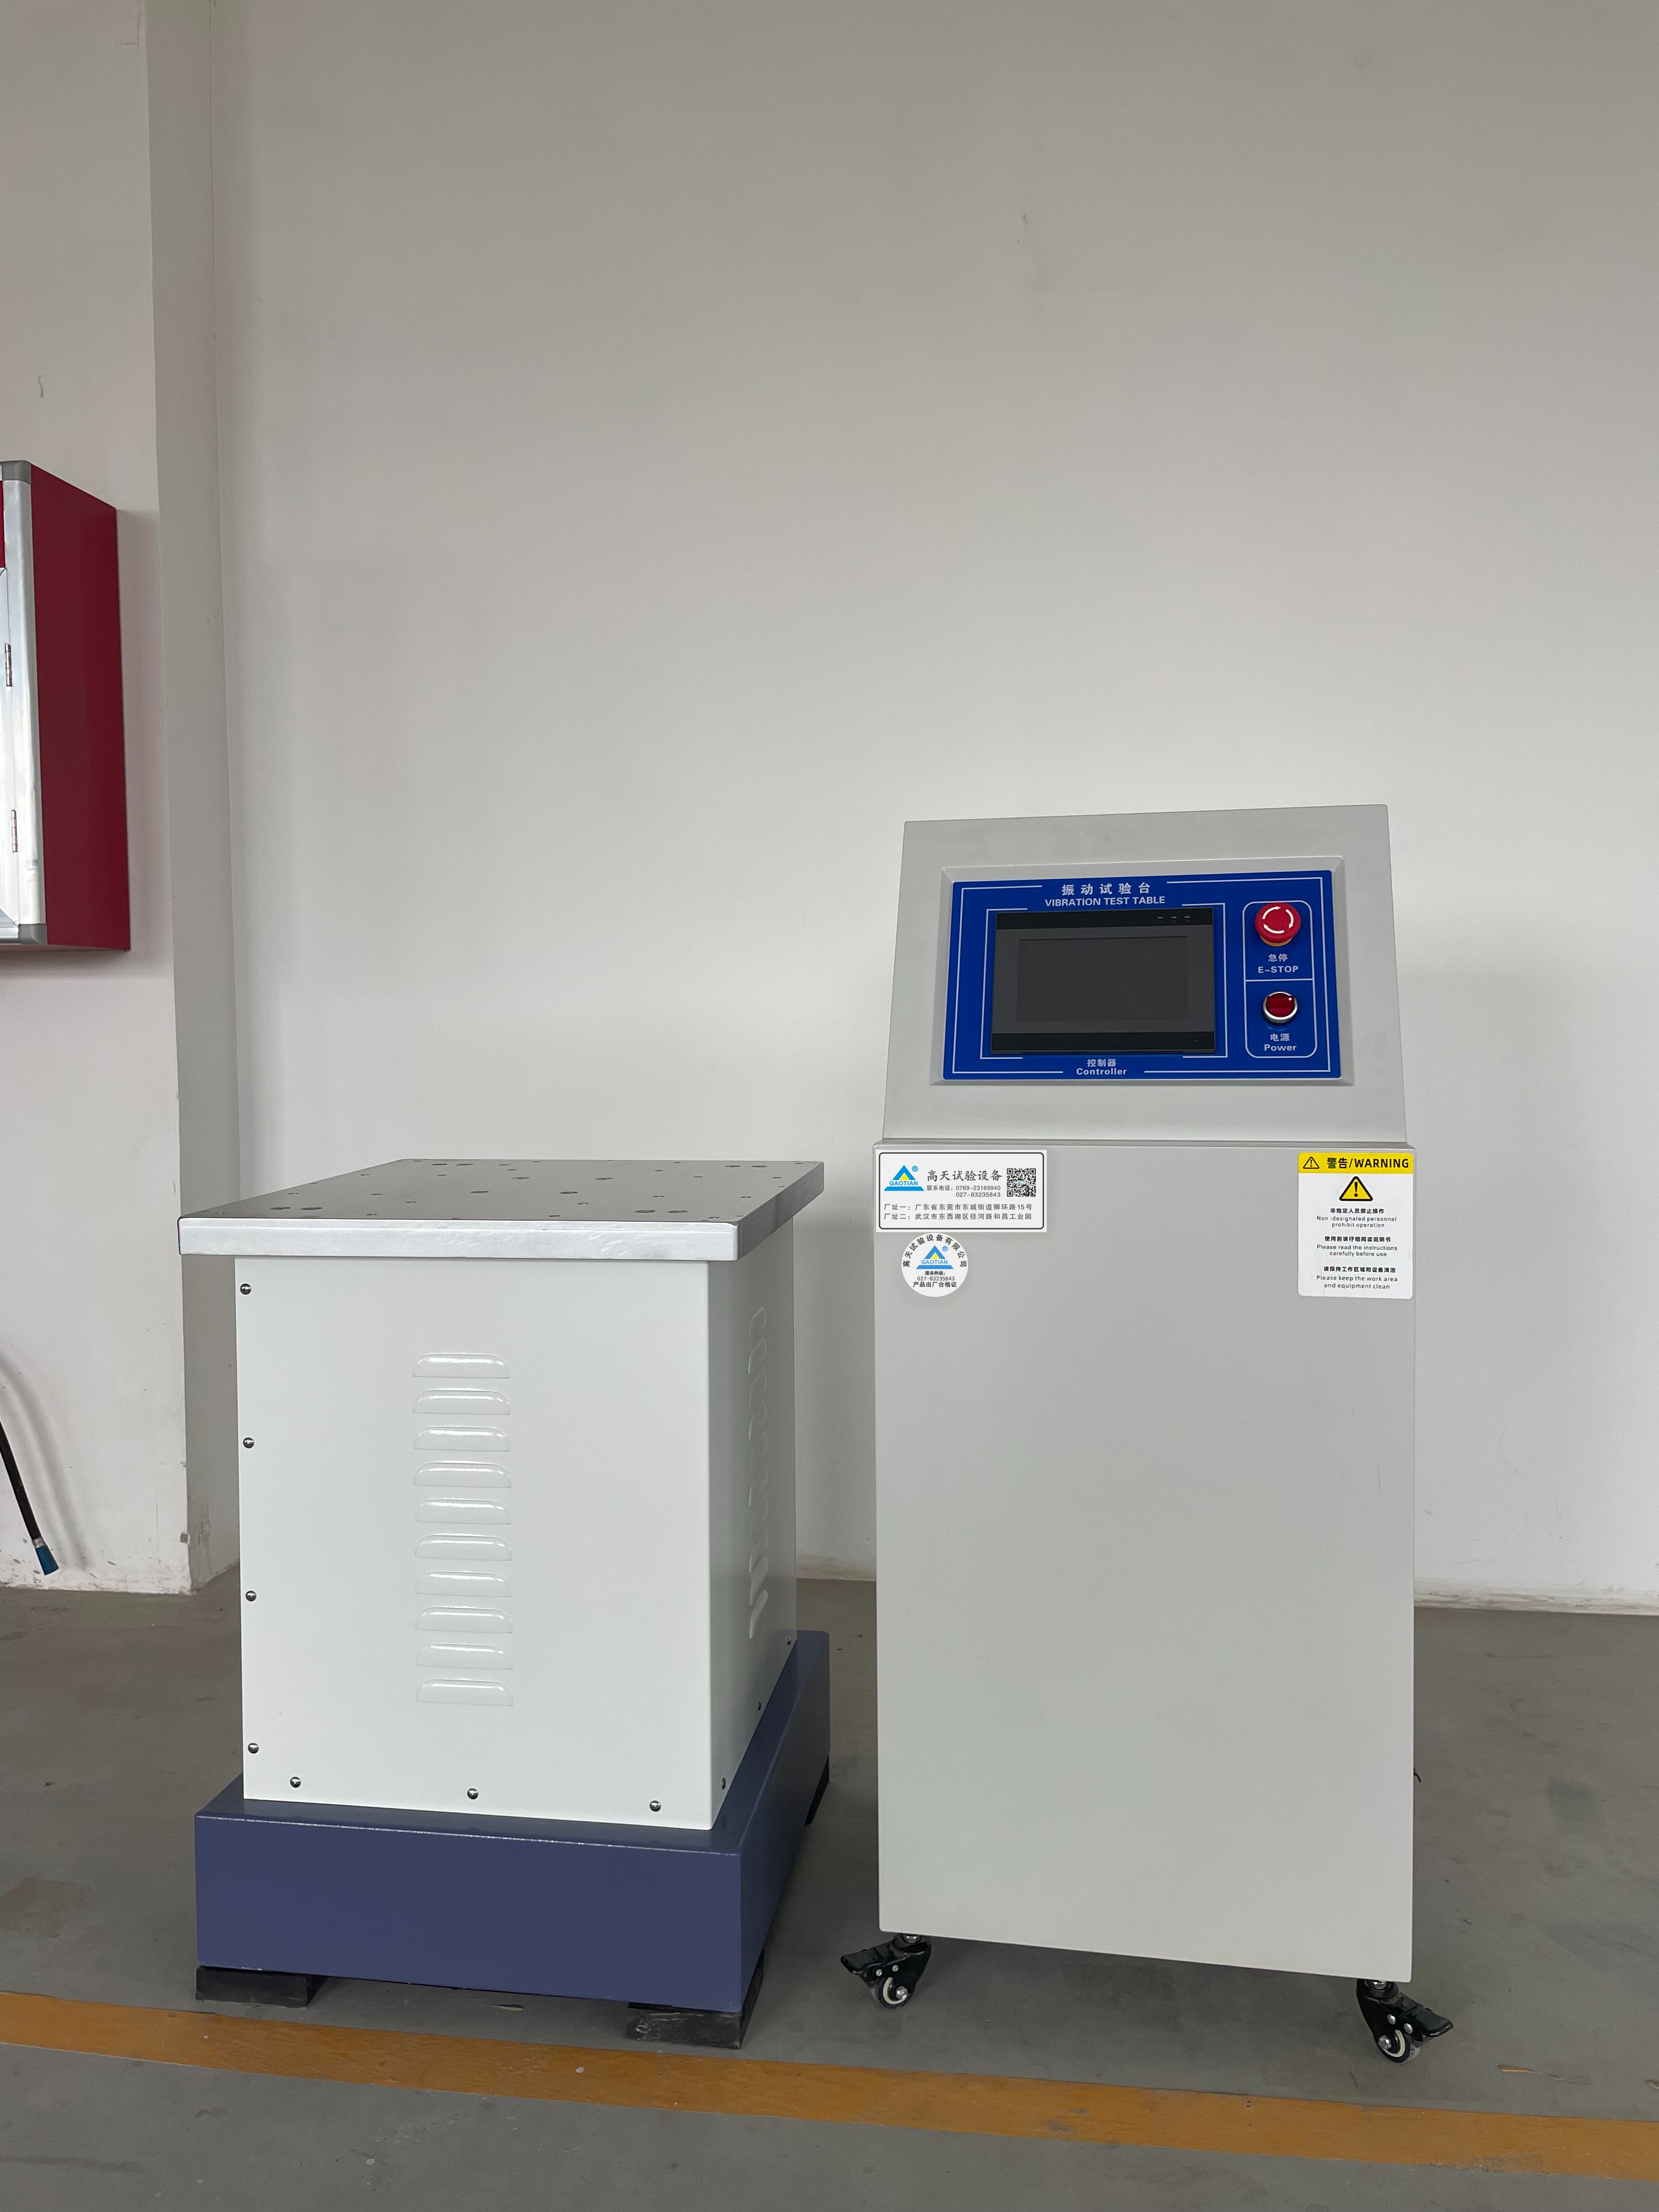
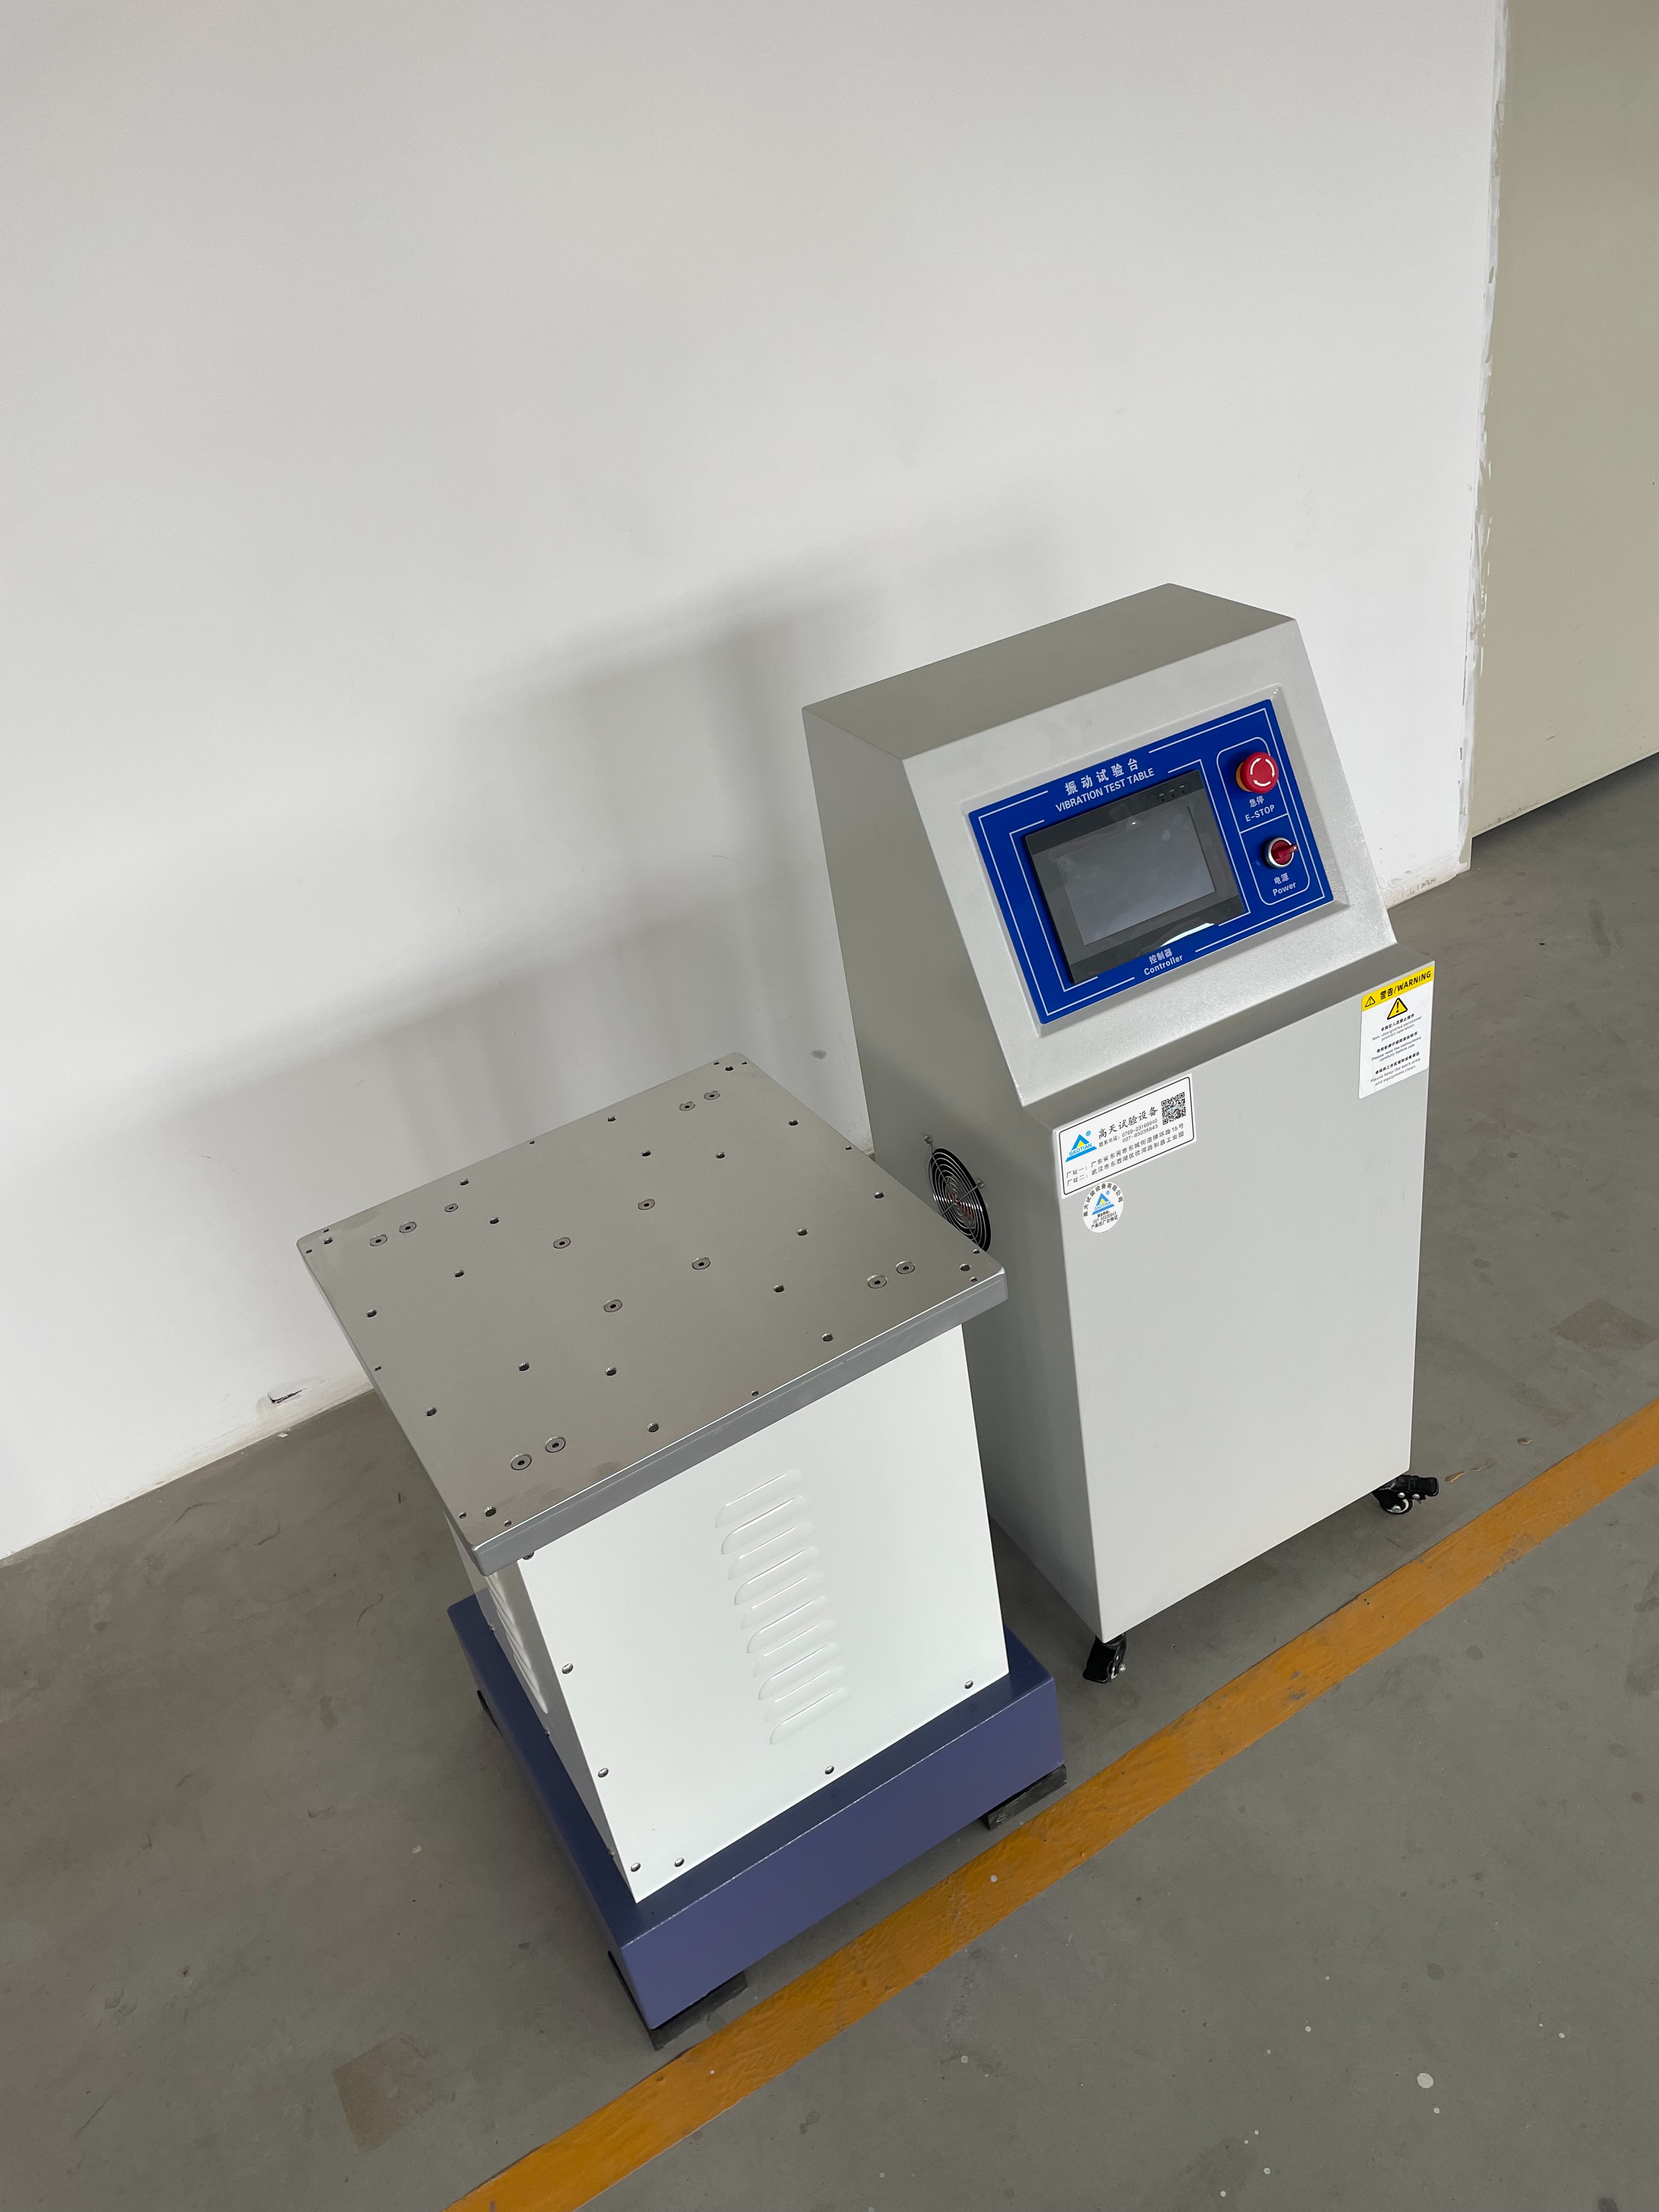
Vibration Test BenchWidely used in multiple industries such as electronics, automotive, aerospace, etc., for testing the reliability of products in vibration environments. Proper installation and debugging are key to ensuring its normal operation and accurate test results. Below is a detailed introduction to the installation and debugging methods of the vibration test bench.
1、 Installation preparation
1. Site selection: Choose a flat, solid, and dry site to avoid installation in areas with obvious vibration sources, strong electromagnetic field interference, and high humidity. The bearing capacity of the site should be able to meet the weight requirements of the vibration test bench during full load operation. It is generally recommended to install it on a concrete foundation with a thickness of not less than 300mm to ensure the stability of the test bench during operation.
2. Equipment inspection: Before installation, carefully inspect the appearance of the vibration test bench and its ancillary equipment for damage, and ensure that all components are complete. Check key components such as motors, sensors, and controllers to ensure they are not loose, deformed, or have any other abnormal conditions. At the same time, check whether the randomly attached technical documents, such as operation manuals, certificates of conformity, etc., are complete.
2、 Installation process
1. Fixed test bench: Place the vibration test bench steadily in the selected installation position, use a level to adjust the levelness of the test bench, and ensure that the horizontal deviation of the table in all directions does not exceed 0.5mm/m. For large vibration test benches, it may be necessary to use anchor bolts to fix them on concrete foundations, and the spacing and specifications of the anchor bolts should comply with the equipment manual requirements. When tightening the anchor bolts, they should be gradually tightened in diagonal order to ensure that the test bench is evenly stressed and firmly fixed.
2. Connection lines: According to the instructions in the equipment manual, connect various types of lines such as power lines and signal lines of the vibration test bench. Ensure that the specifications of the power cord meet the power requirements of the test bench, and that the connection is firm without looseness or short circuit. The connection of signal lines should avoid parallel laying with power lines to prevent electromagnetic interference. For some test benches with remote control functions, it is necessary to connect the network cable to ensure the stability of remote control.
3、 Debugging steps
1. Electrical system debugging: Before connecting the power supply, check again whether the power supply voltage matches the rated voltage of the test bench. Generally, the allowable voltage fluctuation range is ± 10% of the rated voltage. After connecting the power, observe whether the display screen of the controller is displaying normally and whether all indicator lights are on. Check if the rotation direction of the motor is correct. If the direction is incorrect, it can be corrected by adjusting the phase sequence of the three-phase power supply. At the same time, test the various functions of the controller, such as frequency setting, amplitude adjustment, time setting, etc., to ensure its sensitivity and accuracy in operation.
2. Vibration parameter debugging: Run the vibration test bench without load, starting from lower frequencies and amplitudes, gradually increasing the parameters, and observing the operating status of the test bench. Check whether the vibration of the tabletop is uniform, and whether there are any abnormal noises or shaking phenomena. Use vibration sensors to measure the actual vibration parameters of the table, such as frequency, amplitude, etc., and compare them with the parameters set by the controller. If there is a deviation between the actual parameters and the set parameters, calibration can be carried out by adjusting the parameter compensation function of the controller or checking the installation position of the sensor to ensure the accuracy of the measurement. During the debugging process, attention should be paid to the operating limit parameters of the test bench to avoid exceeding the rated load of the equipment and damaging it.
3. Load debugging: After the no-load debugging is normal, place an appropriate amount of load evenly on the test bench and run the test bench again. Observe the fixation of the load during the vibration process to ensure that it will not be displaced or dropped due to vibration. Re measure the vibration parameters and check the impact of the load on the vibration effect. For some products that require high vibration response, further optimization and adjustment of vibration parameters may be necessary based on the characteristics of the product and testing requirements to achieve optimal testing results.

By following the detailed installation and debugging steps above, we can ensureVibration Test BenchNormal operation provides a reliable environment for product vibration testing. During the installation and debugging process, if encountering complex problems or uncertain situations, it is recommended to promptly consult the equipment operation manual or contact the manufacturer's technical support personnel.