-
E-mail
sales@chotest.com
-
Phone
18928463988
-
Address
No. 1001, Xili Xueyuan Avenue, Nanshan District, Shenzhen, China
Shenzhen Zhongtu Instrument Co., Ltd
1、 Analysis of Three Coordinate Coaxiality Measurement Technology
In the microscopic world of precision manufacturing, coaxiality error is like a 'silent precision killer'. It is hidden in core components such as aerospace engines, automotive powertrains, and precision hydraulic systems, and its micrometer level deviation can cause resonance, abnormal wear, and even functional failure of the entire machine.
Traditional measurement methods highly rely on fixture accuracy and operator experience, and their inherent uncertainty and low efficiency have become an invisible ceiling that restricts product quality iteration. Modern three coordinate measurement technology has established a closed-loop quality control chain of "digital benchmark global acquisition intelligent analysis", providing a systematic answer for achieving stable and reliable micrometer level precision control.

2、 Industry pain points
Currently, the dilemma faced by enterprises in coaxiality measurement is systemic:
1. Reference distortion: Manufacturing errors and wear inherent in physical fixtures introduce "secondary errors" at the beginning of measurement, resulting in systematic deviations between measurement results and true values.
2. Sparse data: Discrete point sampling measurements based on tools such as calipers and micrometers are like a "blind man feeling an elephant", making it difficult to capture the full picture of feature contours and easily missing key outliers.
3. Information silo: Measurement data is often presented in simple qualified/unqualified conclusions, lacking in-depth and visual deviation traceability analysis, and cannot be effectively fed back to the process end for precise optimization.
3、 High precision three coordinate solution
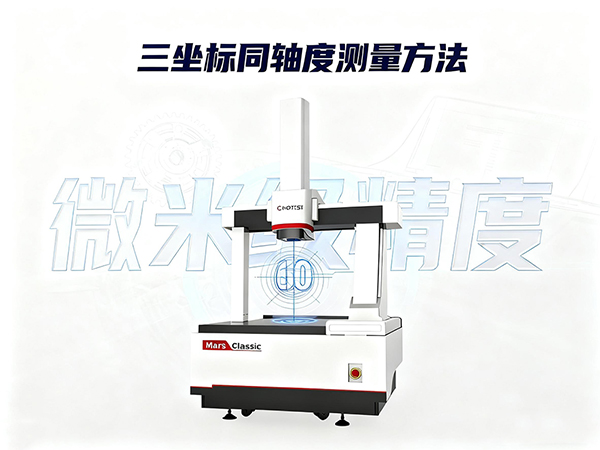
Unlike physical fixture positioning, high-precision coordinate measuring machines (CMM) collect high-density point cloud data on the surface of parts through precision probes, and use algorithms such as least squares and Gaussian filtering to construct the most fitting ideal reference axis in virtual space. This method eliminates tooling errors and improves measurement accuracy to the micrometer level.

4、 Core advantages of the three coordinate measurement technology solution
1. Based on scanning probe technology, continuous data collection of hole and shaft features can be achieved, capturing contour deviations that are difficult to detect by traditional methods. This is not only used to determine whether they are qualified or not, but also to generate complete contour deviation chromatograms, accurately locating the root causes of defects in grinding, assembly and other processes;
2. The measurement software supports multiple benchmark establishment methods (such as compensating for maximum entity requirements), which are more in line with tolerance standards. This makes the evaluation criteria more in line with product functional requirements, while ensuring assembly, releasing larger manufacturing tolerance zones and reducing production costs;
3. The fully automated measurement process shortens the single inspection time to the minute level, making it possible to conduct large-scale full inspections.
4. Manufacturing closed-loop empowerment: The fully automated measurement process improves detection efficiency to the minute level. More importantly, the measurement results can be communicated in real-time with the machine tool CNC system through standard interfaces such as I++and DME, forming an intelligent manufacturing closed-loop of "machining measurement compensation", achieving automatic compensation of tool wear and autonomous optimization of machining parameters.
5、 Application scenarios
Taking the measurement of automobile engine crankshafts as an example, our solution uses a scanning probe to collect over 300 feature points (far exceeding the traditional method's 30 points) after fixing the workpiece, and instantly constructs a high fidelity digital model. The system can not only immediately output coaxiality reports, but also combine historical data to predict the wear trend and potential vibration risks of the crankshaft during long-term operation, extending quality control from factory inspection to product lifecycle management.
VI. Summary
From the perspective of industry trends, the new generation of three coordinate systems communicate in real-time with machine tool CNC systems through interfaces, forming a closed-loop control of "machining measurement compensation". A more cutting-edge application is to import measurement data into digital twin models for virtual assembly verification, preventing assembly risks caused by coaxiality deviation from the design end. Choosing an advanced three coordinate measurement solution is not only valuable in solving current accuracy problems, but also an important investment in building enterprise quality data assets.